


Introduction to Central Vacuum Systems
At Superior Vacuums, we have 36 years of experience in central vacuum installation. Our guide explains how to install a central vacuum system, ensuring you get the best performance and convenience.
What is a Central Vacuum?
A central vacuum system cleans your house efficiently. A central vacuum system includes a main component, the Power Unit, which is installed in areas like the garage or basement to keep it out of your way. Tubes inside the walls connect this unit to several outlets in different rooms. For cleaning a room, attach the hose to the designated outlet.
System Planning & Layout:

- Put the Power Unit on a wall in a quiet spot, like the garage or basement, to keep things quiet and not in the way.
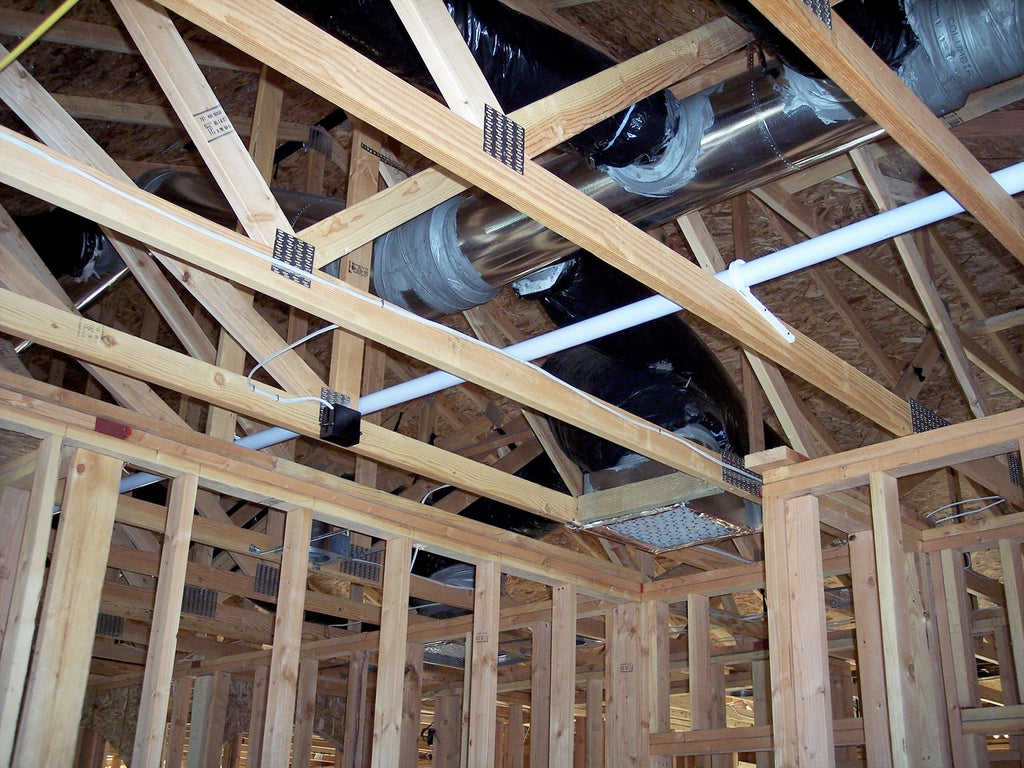
- Install tubes and inlets in the walls to connect the Power Unit to your home, making it blend smoothly with the house.
Installation Examples by Home Type:
-
Ranch Style House:
- Mount the Power Unit in the garage.
- Install the intake and exhaust tubing along the garage wall, leading up to the attic.
- Lay the trunk line horizontally through the attic, with branch lines extending to inlets in strategic locations.
-
Two-Story House:
- Utilize a double-trunk line system.
- Install the intake tubing along the basement wall, connecting it to the main trunk line.
- Place inlets on the first floor and connect through vertical lines inside interior walls.
-
Split-Level House:
- Install the Power Unit in the garage.
- Use a two-level trunk line, with branch lines leading to inlets on various levels.
Power Unit Location
- Selecting Location: Choose a place far from living areas to avoid noise; garages or basements are ideal.
- Electrical Requirements: Put the Power Unit near a plug, or install a new circuit for its power.
Installation Process
-
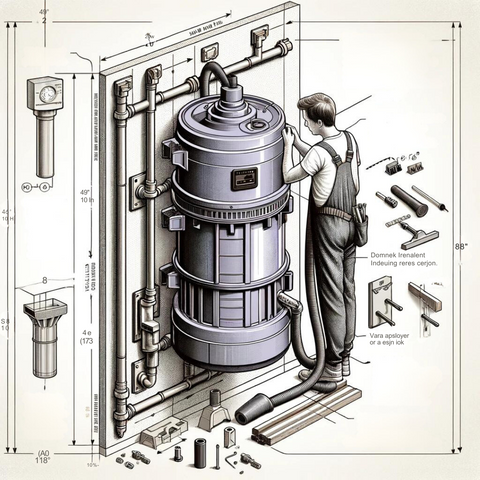
Mounting the Power Unit:
- Secure the unit 48" above the floor, maintaining an 8" clearance from the ceiling.
- Use appropriate anchors for wall type (plaster, panel, concrete).
-
Exhaust Venting:
- Connect tubing to the Power Unit's exhaust and vent it outside, avoiding enclosed spaces.
-
Determining Inlet Locations:
- Consider room layouts and furniture placement.
- Use a 30-foot string method to determine the most effective inlet locations, ensuring coverage of the entire area.
-
Tubing Installation:
- Start with the farthest inlet and work towards the Power Unit.
- Use 90-degree elbows and T-fittings for branch connections, maintaining airflow direction towards the Power Unit.
-
Wiring:
- Run low-voltage wire alongside tubing, connecting inlets to the Power Unit for power control.
- Use T-Splicing or Looping methods for wire connections, ensuring each inlet can independently activate the Power Unit.
-
Final Assembly:
- Ensure all tubing connections are tight and aligned for optimal airflow.
- Cement tubing connections, allowing sufficient drying time before system use.
Testing and Troubleshooting
- Leak Testing: Perform a vacuum leakage test by short-circuiting the low voltage connectors; no air should escape if the system is sealed properly.
- System Check: Verify that all inlets activate the Power Unit and that there are no leaks or obstructions in the system.
Conclusion
Central Vacuum cleaner Installation, errors can be costly and time-consuming. It's essential to seek expert guidance or opt for professional assistance to avoid such mistakes. At Superior Vacuums, we ensure premium installation services, safeguarding your investment and providing peace of mind.
Visit Built-In Vacuum Installation Services 🢂


